Another fantastic hike in Ecuador. This is an acclimatizing hike for Cotopaxi for us, but actually itself is a great hike. We arrived at a hostel, Secret Garden Cotopaxi a day before, and did this hike on the next day. This hike is technically no need a guide, but Secret Garden's deal includes lift to the trailhead, guiding a hike, entrance paperwork to the Cotopaxi National Park, and lift back to the hostel. As we didn't rent a car for this trip, and we don't speak Spanish, it is easier this way. Good thing about the hostel is all English.
After we had a nice breakfast, we left a hostel around 7:30 a.m. The guide spoke only Spanish, but the lady we went with is Ecuadorian and she was able to translate to us. She was volunteering at Secret Garden to learn English. The trail is straightforward and gradual slope, but it was tough at the normal speed since it was high altitude. Starting point is 12700 feet high and 2800 feet elevation gain to the summit. Besides, this was a big factor I got tired, the guide was so fast! Of course, he lives in high altitude (and assume even he grew up), and completely adjusted to this altitude. Even the Ecuadorian lady, who is from Quito, is well acclimatized as well, because Quito resides in 9000 feet. On the other hand, we were just 10 days in Ecuador., coming from the sea level. At some point, I decided to go on my own pace. The guide was far ahead. A bit strange: Guides aren't supposed to be with customers' paces? Anyway, I stopped caring about it and just enjoyed the vast view. Moving clouds, sunlight, and mountains are gorgeous.


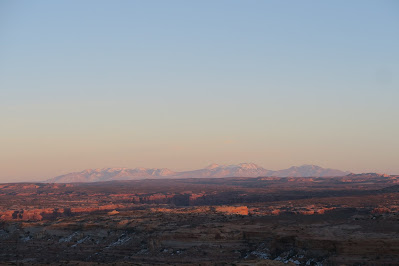
On the way, deer greeted us. I didn't know Andean mountains has deer. Actually this was the only deer we saw during the trip. It is likely to be rare, because even the guide was taking a video of the deer by surprised facial expression.  Another great view in the left picture. I said to the guide, "espectacular" and he understood and agreed. Spectacular in English is espectacular in Spanish! Easy! I learned some Spanish during this trip, and I thought it would be easier than the time I learned English, since English and Spanish are much closer compared to the difference between English and Japanese. On the way back, saw a good view of Cotopaxi. Did you see the hut, a red/orange-ish building in the left side of the mountain? That was the hut we stayed a night before we summited Cotopaxi. Still unbelievable we climbed a lot in 6 hours.